
I love decorating for holidays, and I love making things for said decorating. The problem with holiday crafting is that, if you aren’t careful, it can get pretty expensive. This wreath isn’t like that. I spent less than $10 on this wreath, but your cost may vary a little bit because I happened to have a handful of unused rubber snakes on hand thanks to my children.
Supplies for Halloween Wreath
You need:
Wreath Form – I chose wire, but you can use other forms just as easily, though I’d recommend spray painting grapevine wreath forms black before you begin.
Black Tulle (my roll was 6 inches by 25 yards and I used almost all of it)
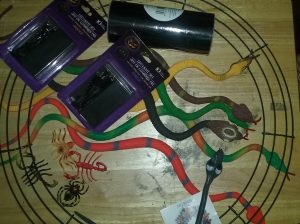
Six or so plastic or rubber snakes
Battery operated lights
A rubber or plastic spider
Optional: various acrylic paints, spray paint
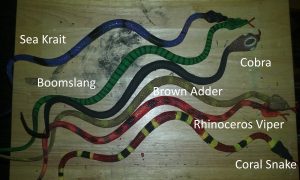
Step one: Prepare the Snakes
My experience with plastic snakes is that they are generally comically fluorescent. You can leave them the color they come, spray paint them black, or go the more time-consuming route and attempt to paint them in the style of various venomous snakes. The Cobra did not require painting and the Rhinoceros viper ended up much too pink.
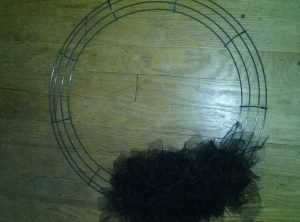
Step Two: Tie the Tulle
For the bottom fluff, I cut 2-inch strips (maybe 200) and tied each one to the rings of the wreath form. This is the most time-consuming portion of this craft.
Step Three: Attach the Snakes
I used strips of Tulle to attach the snakes where I wanted them. I tried it with wire but the wire showed too easily. The only wire I used was for the spider in the fluffy Tulle.
Step Four: Wind the lights
I used Tulle to attach the battery boxes to the back of the wreath and wound the lights around the form, tying with Tulle when necessary.
Step Five: Weave the Tulle
Using most of the rest of the Tulle, I wove it through the wreath form, the snakes, and the lights. The more tension you use here, the tighter the weave and the more Tulle you will need. Alternatively, you could also do this with black ribbon.

Step Six: Tie the Hanger
I used a six-inch length of Tulle tied to the top to hang the wreath.
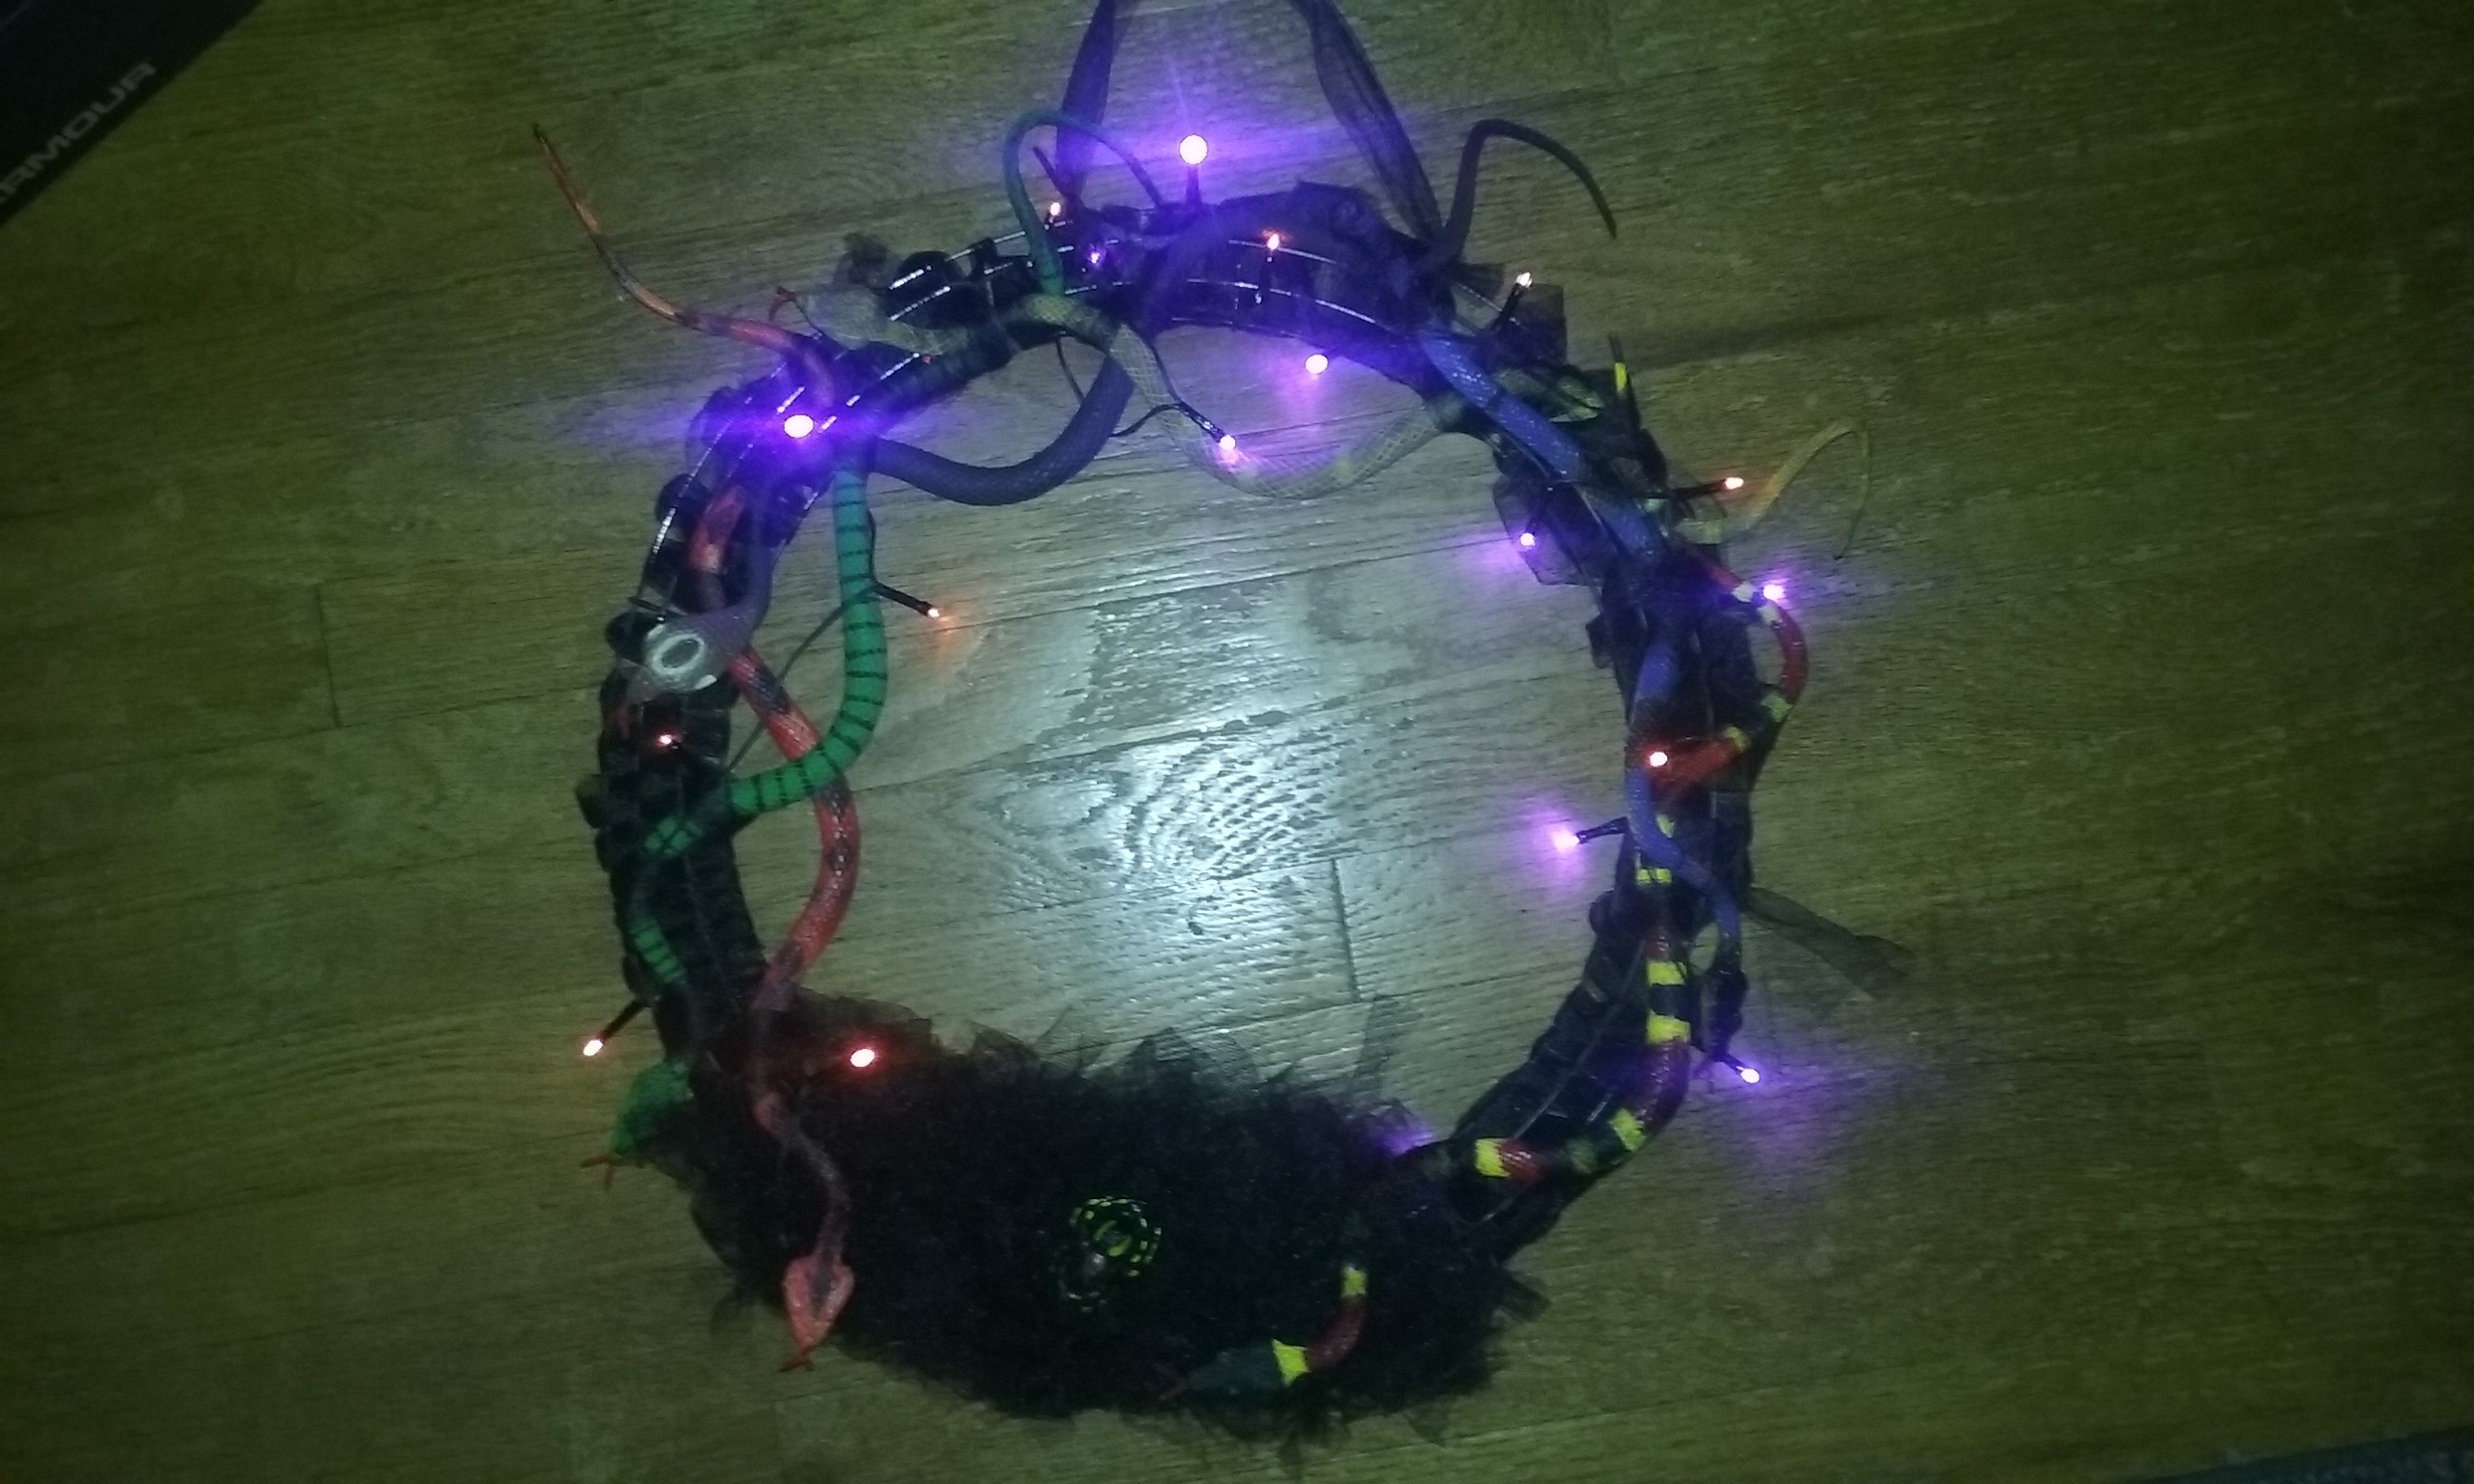
I keep this as an indoor decoration as the lights are not rated for outdoor use and I don’t really see my front door that much and want to enjoy it so it hangs in my kitchen where I can enjoy it for the whole of Halloween.