Melt and Pour Crayons

One of the side effects of having children is that you end up with bags and boxes full of broken crayons, crayons from restaurants, crayons from school year’s past. I really hate to throw away useful things and so, I had a shoe box full to the brim of crayons. With Halloween fast approaching, I finally figured out what to do with all of the discarded crayons.

Melt & Pour Crayons


Melt and Pour Crayon Supplies: Jar and pan to use as double boiler, silicon molds. Not shown: crayons)

Supplies:

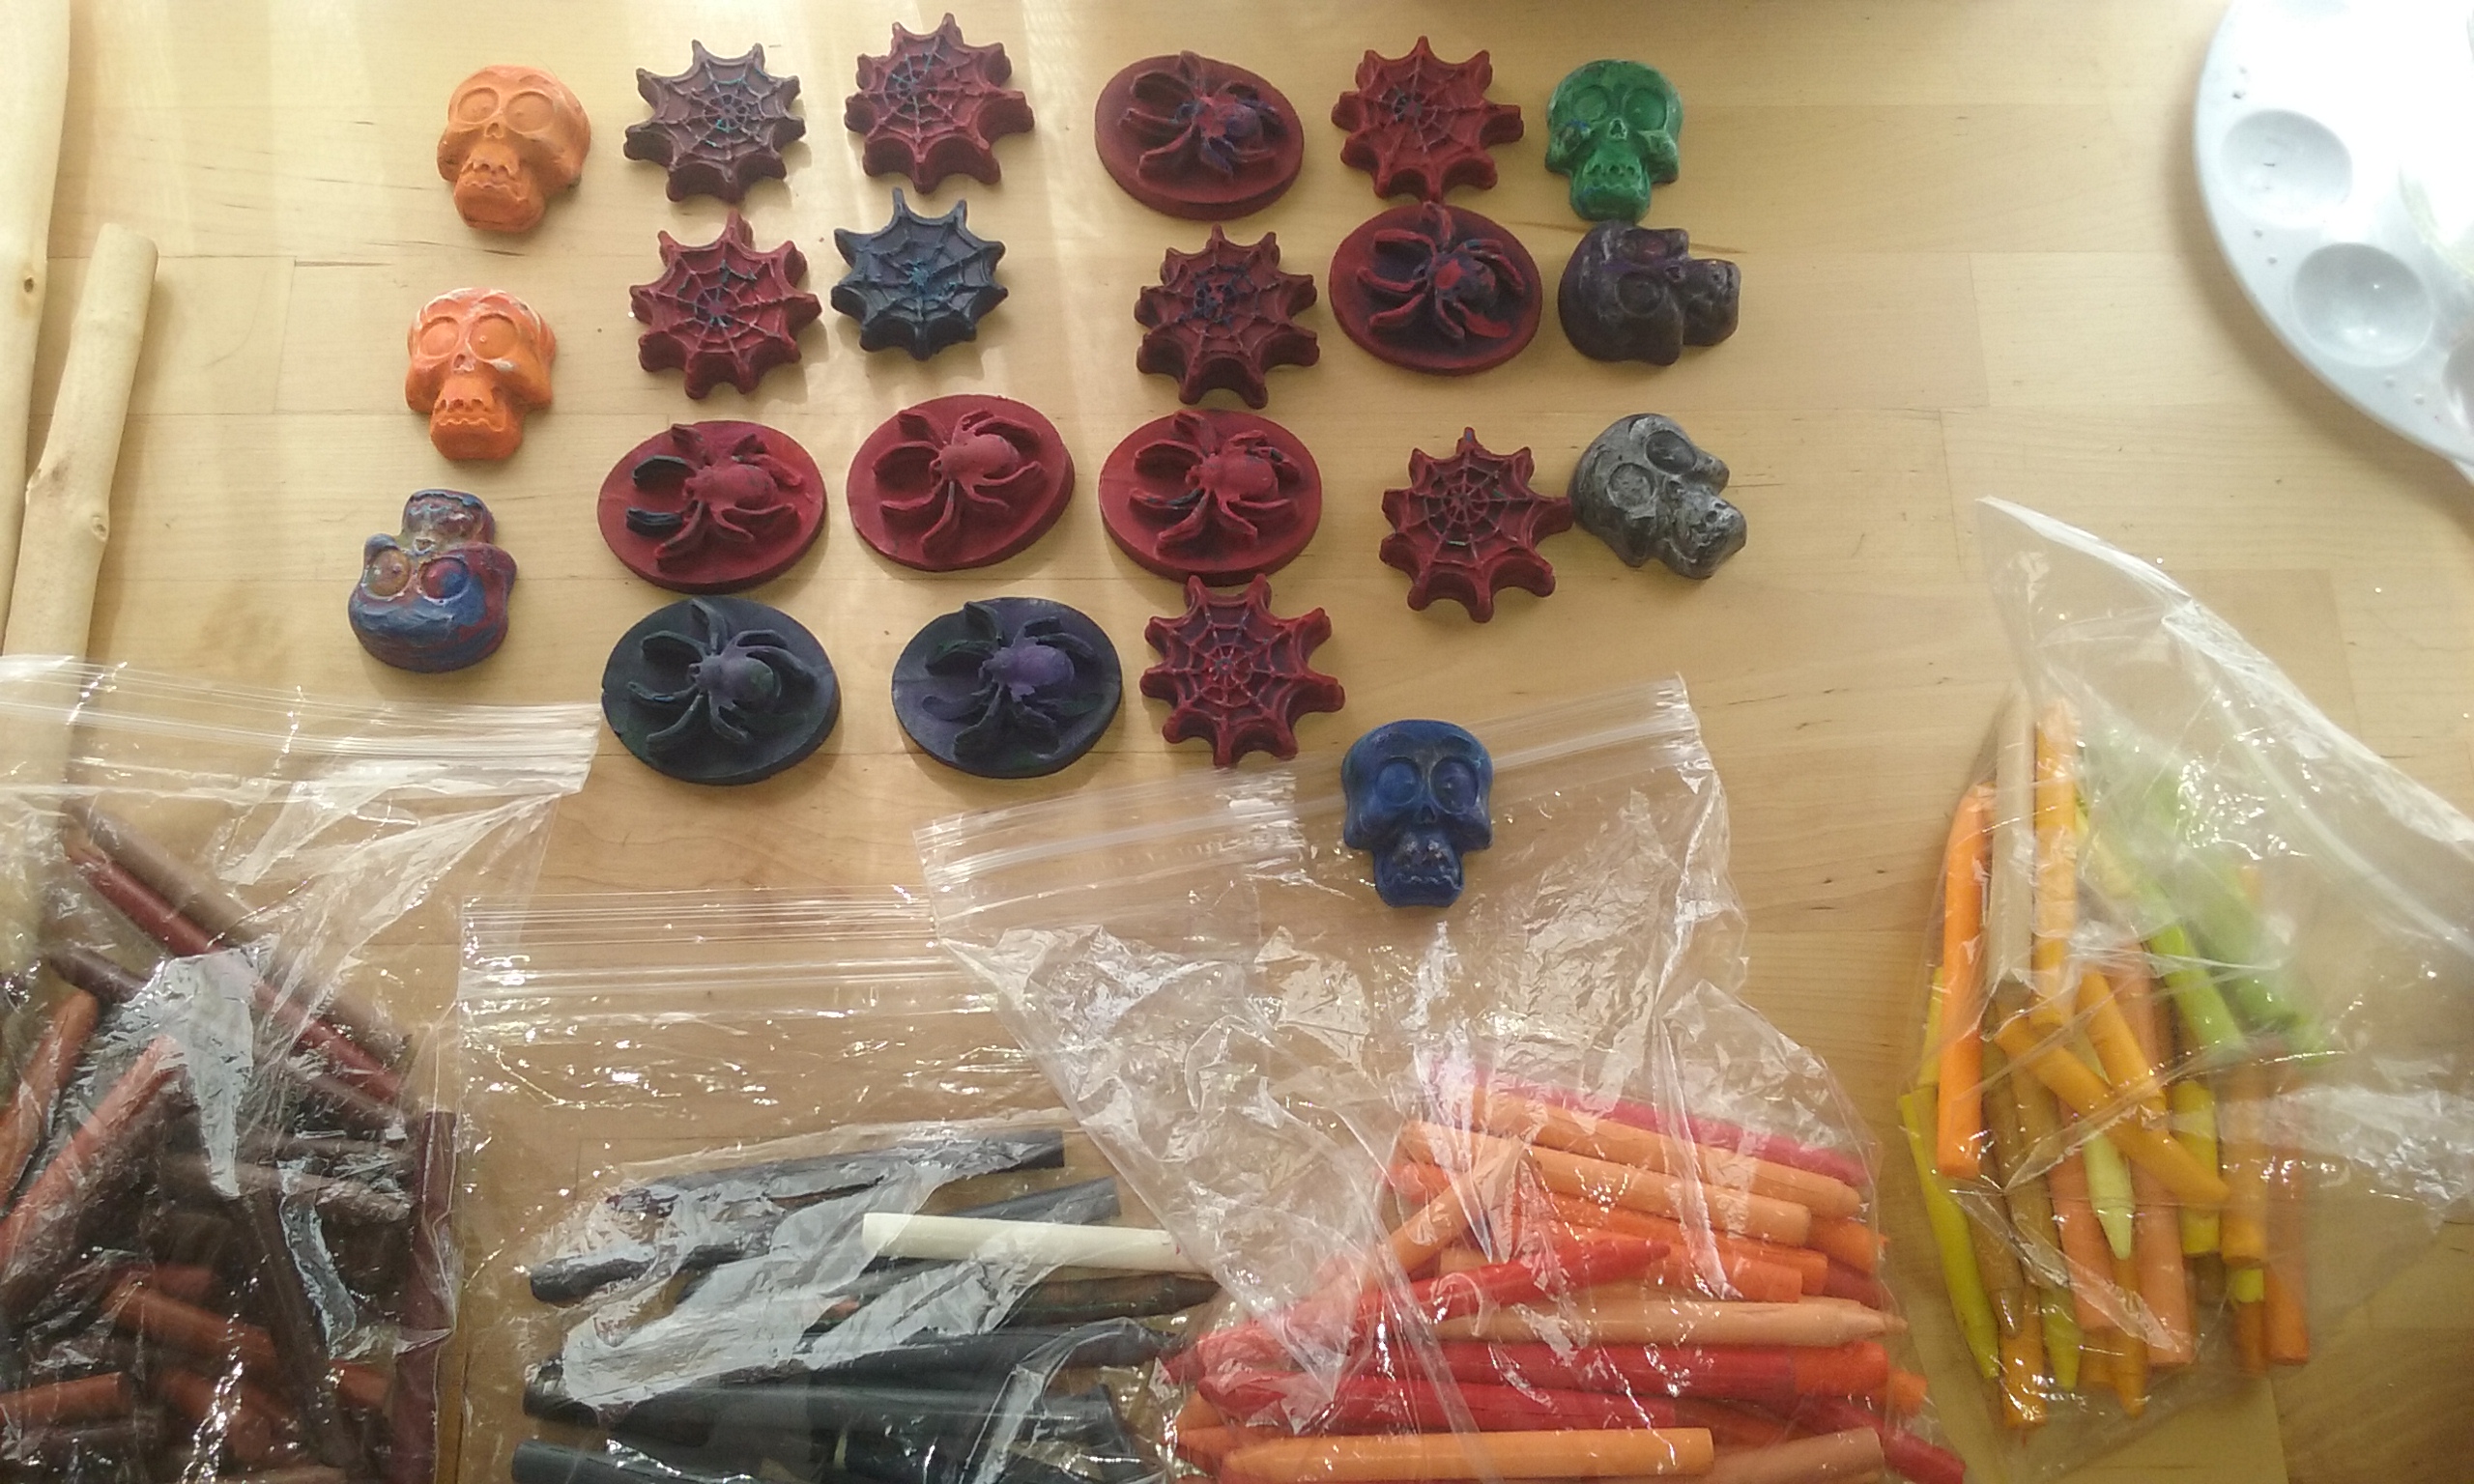
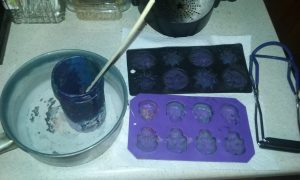
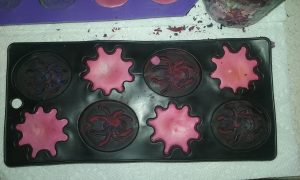
– silicon molds – generally these are ice cube trays. The Dollar Tree carries shaped molds for nearly every holiday. For this project, I have two molds – skulls and spiders and webs.
– Crayons – separated by color
– Old pan
– Old mason jar
– Water
– Canning tongs
– Wooden skewers
– Paper towels


Web crayons cooling in the silicon mold

Remove all the paper from the crayons. I’ve found that it is easiest to do this with a razor knife or box cutter. Break the crayons into pieces (I used a hammer for this).

Put the crayon pieces in the jar in a pan of water and heat it to boiling. Keep watch over the process but it generally takes me 40 minutes to melt a half a cup of crayon pieces down. If you want to hasten the melt, you can stir it but that will result in no swirls in your final product.


Finished Melt and Pour Crayons

Using the canning tongs, lift the jar out of the water and carefully pour the melted wax into the molds, careful not to overfill them.

Allow to cool but remove from the molds while still slightly warm.

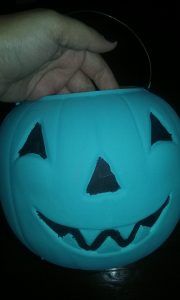
I’m making these crayons for The Teal Pumpkin Project, so my house has something for kids who have allergies, sensitivities, or who are diabetic. Fortunately, my kids aren’t allergic to any foods but a lot of my friends have children who can’t eat sugar or nuts or milk. The Teal Pumpkin project ensures that all kids can have fun on Halloween. If you have a non-food option, place a teal pumpkin on your stoop so families know your house is an allergy friendly stop. Kids who stop at my house can have either candy or a set of Halloween crayons.

My teal pumpkin is a plastic pumpkin bucket I'll be hanging from a post outside during Trick or Treating
My teal pumpkin is a plastic pumpkin bucket I’ll be hanging from a post outside during Trick or Treating

Halloween Wreath DIY

Supplies for the DIY Halloween Wreath

I love decorating for holidays, and I love making things for said decorating. The problem with holiday crafting is that, if you aren’t careful, it can get pretty expensive. This wreath isn’t like that. I spent less than $10 on this wreath, but your cost may vary a little bit because I happened to have a handful of unused rubber snakes on hand thanks to my children.
Supplies for Halloween Wreath
You need:
Wreath Form – I chose wire, but you can use other forms just as easily, though I’d recommend spray painting grapevine wreath forms black before you begin.
Black Tulle (my roll was 6 inches by 25 yards and I used almost all of it)
Six or so plastic or rubber snakes
Battery operated lights
A rubber or plastic spider
Optional: various acrylic paints, spray paint


I painted them up like venomous snakes

Step one: Prepare the Snakes
My experience with plastic snakes is that they are generally comically fluorescent. You can leave them the color they come, spray paint them black, or go the more time-consuming route and attempt to paint them in the style of various venomous snakes. The Cobra did not require painting and the Rhinoceros viper ended up much too pink.


Tying up the Tulle
Tying up the Tulle

Step Two: Tie the Tulle

For the bottom fluff, I cut 2-inch strips (maybe 200) and tied each one to the rings of the wreath form. This is the most time-consuming portion of this craft.

Step Three: Attach the Snakes

I used strips of Tulle to attach the snakes where I wanted them. I tried it with wire but the wire showed too easily. The only wire I used was for the spider in the fluffy Tulle.

Step Four: Wind the lights

I used Tulle to attach the battery boxes to the back of the wreath and wound the lights around the form, tying with Tulle when necessary.

Step Five: Weave the Tulle

Using most of the rest of the Tulle, I wove it through the wreath form, the snakes, and the lights. The more tension you use here, the tighter the weave and the more Tulle you will need. Alternatively, you could also do this with black ribbon.


DIY Halloween Wreath

Step Six: Tie the Hanger

I used a six-inch length of Tulle tied to the top to hang the wreath.

I keep this as an indoor decoration as the lights are not rated for outdoor use and I don’t really see my front door that much and want to enjoy it so it hangs in my kitchen where I can enjoy it for the whole of Halloween.