In December of 2015, The Key Armory introduced their first set of key designs through a Kickstarter campaign. Inspired by weaponry from various fandoms including Lord of the Rings, Star Wars, various video games, and animes, the first keys that were announced for the campaign were: the Hero’s Sword, King’s Blade, Kingdom Key, Star Saber, and Halfling’s Blade. Needing to raise $10,000 for their goal, there were also hopes for additional designs to be added as Stretch Goals. I joined in on the campaign in the fairly early stages and was thrilled to learn that the stretch goal key designs were actually going to be decided by the backers ourselves!
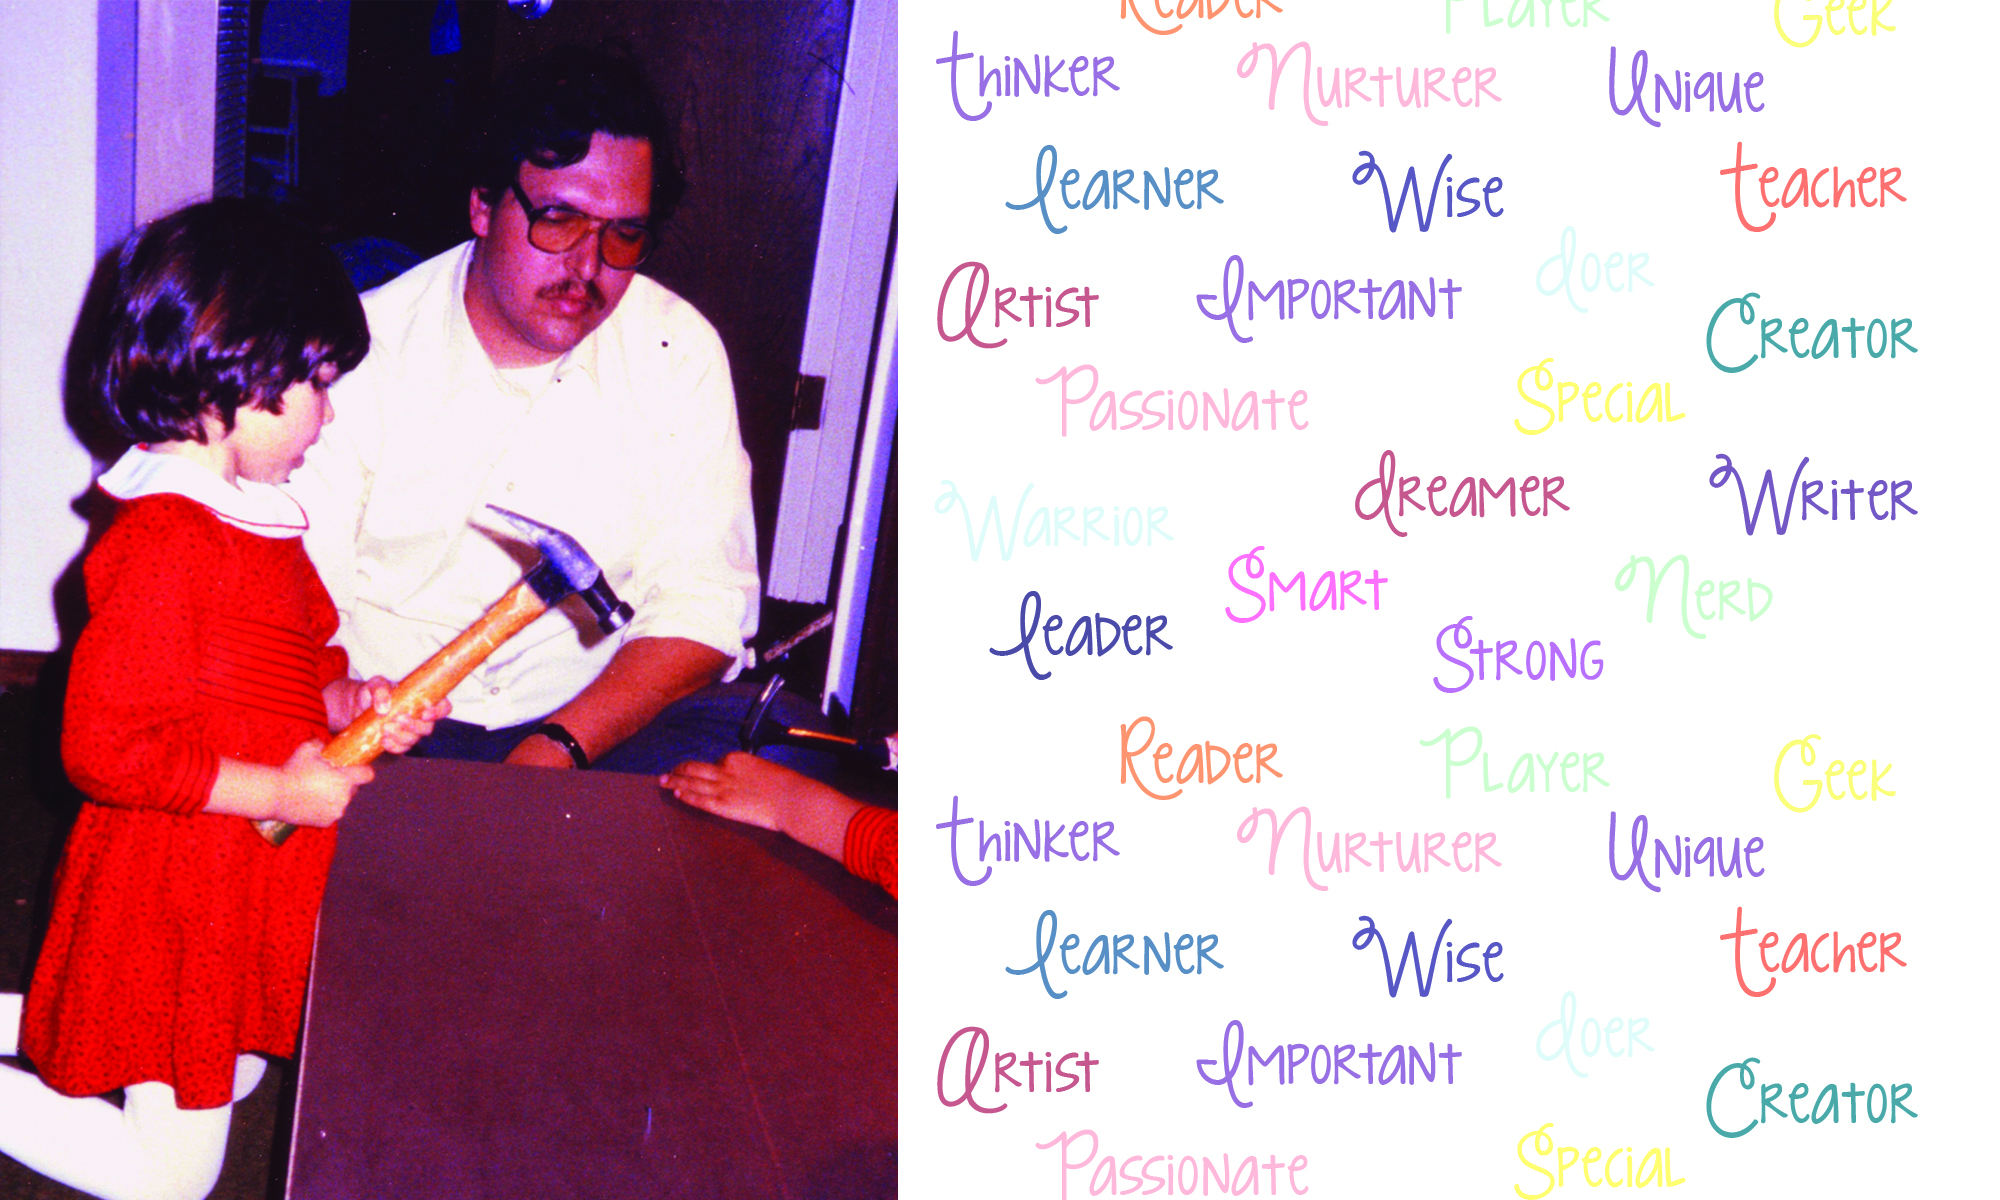
(All photos were taken and edited by KristaG)
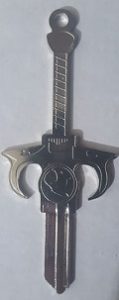
At the end of the campaign, the number of keys being offered had been doubled! We, the backers, had voted in another five designs: the Runeblade of Ner’zhul, Eye of Thundara, Gunblade Revolver, Royal Shield (not a sword, I know, and I was a bit skeptical of it at first until I saw the finished product), and the Blade of the Direwolf. As much as I had liked the original keys, I was really excited about the Runeblade of Ner’zhul as I am a rather large fan of World of Warcraft and immediately knew what key I had to have for myself! The timing for the suspected delivery for these also happened to be perfect for a birthday gift for a geek friend of mine so I also picked up a second key, the Eye of Thundara, as a surprise. Not only was he a fan of Thundercats, but it is a bit of an inside joke between us as well.
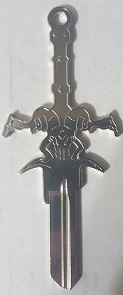
I will admit, I had a few concerns about how the final product would look by the time I received it. My biggest concern was over how the details would look etched into the keys versus the cut out sections. Would the etched details be deep enough to show up? Would the different depths of the details still be visible enough from a distance to see what the sword looks like or would you have to use your imagination a bit more? I was also concerned about the actual size of the key. Obviously, these keys would be a bit bigger than your average house key, but just how big is “a bit bigger”? Would they be so gigantic that I would have to change how I keep my keys in my pocket? Should I just be considering using these as a display or novelty item instead of as a functional key to my home due to their potential size? I needn’t have worried, however! Upon their arrival, these keys have proven themselves to be sturdy, stunningly detailed with good craftsmanship, easy to get cut, a perfect fit on my keyrings (though I have enough keys to keep track of now that I no longer keep my keys in my pocket as much), and they have made some great conversation pieces!
The customer service at The Key Armory has proven to be top notch as I had several interactions with them after the campaign ended and I am looking forward to working with them again as they have launched their new Kickstarter campaign. This time they are not just introducing five more designs (the Soldier’s Sword, Sword of Foresight, Power Sword, Defender of the Universe, and Blade of Alfheim), but are also hoping to expand their offerings of keyway types to include Yale keys in addition to the Kwikset and Schlage keys that were offered in the last campaign. Personally, I’m thrilled as it means I can now pick up a few more keys as gifts for my friends overseas! As with their last campaign, there are more designs waiting to be added to the list of offerings and I can hardly wait to see what we add!
I can not recommend these keys enough. They’re fun, good quality, span numerous fandoms so that many of my geeky interests are met, the people at The Key Armory are just wonderful people to work with, and these keys are just amazingly detailed! I can honestly attest that everyone who has seen my house key has asked me either where I got it or if I will get them one too! Though a bit on the pricey side for key blanks (they go for $12 retail or $10 as part of the Kickstarter campaign), I still feel they’re worth picking up and, should you not want to use them for your home, they are something fun to simply collect and display.